Page History
...
You can export a report from the Report Center to PDF format for printing. The report must be in View Mode. Click Generate Report from the Actions menu if a Static Report does not exist yet.
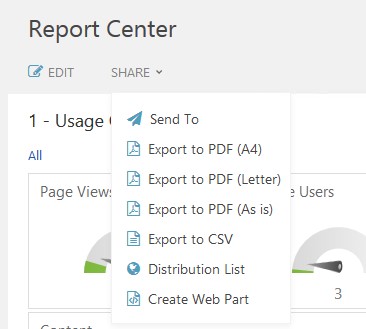
- When the report is in View Mode, click you will have 3 options to Export to PDF from the Share menu.
Share menu in View mode- Export to PDF (A4) - the report will be saved as a PDF file with page size A4.
- Export to PDF (Letter) - the report will be saved as a PDF file with page size Letter.
- Export to PDF (As is) - the report will be saved as a PDF file with a custom page size (report dashboard size).
- When selecting Export to PDF (A4) or Export to PDF (Letter), you will be able to select the page orientation - Portrait or Landscape.
- The report will be downloaded to your default downloads location.
You can also control the report layout by printing the report and saving it as PDF:
- On the Navigation pane, under Report Center, click the report from the Reports tree and select Browse. If the Browse option is grayed out, select Open and click Generate Report from the Actions menu, to generate a static report.
- In the new report window, open the browser settings menu and select Print.
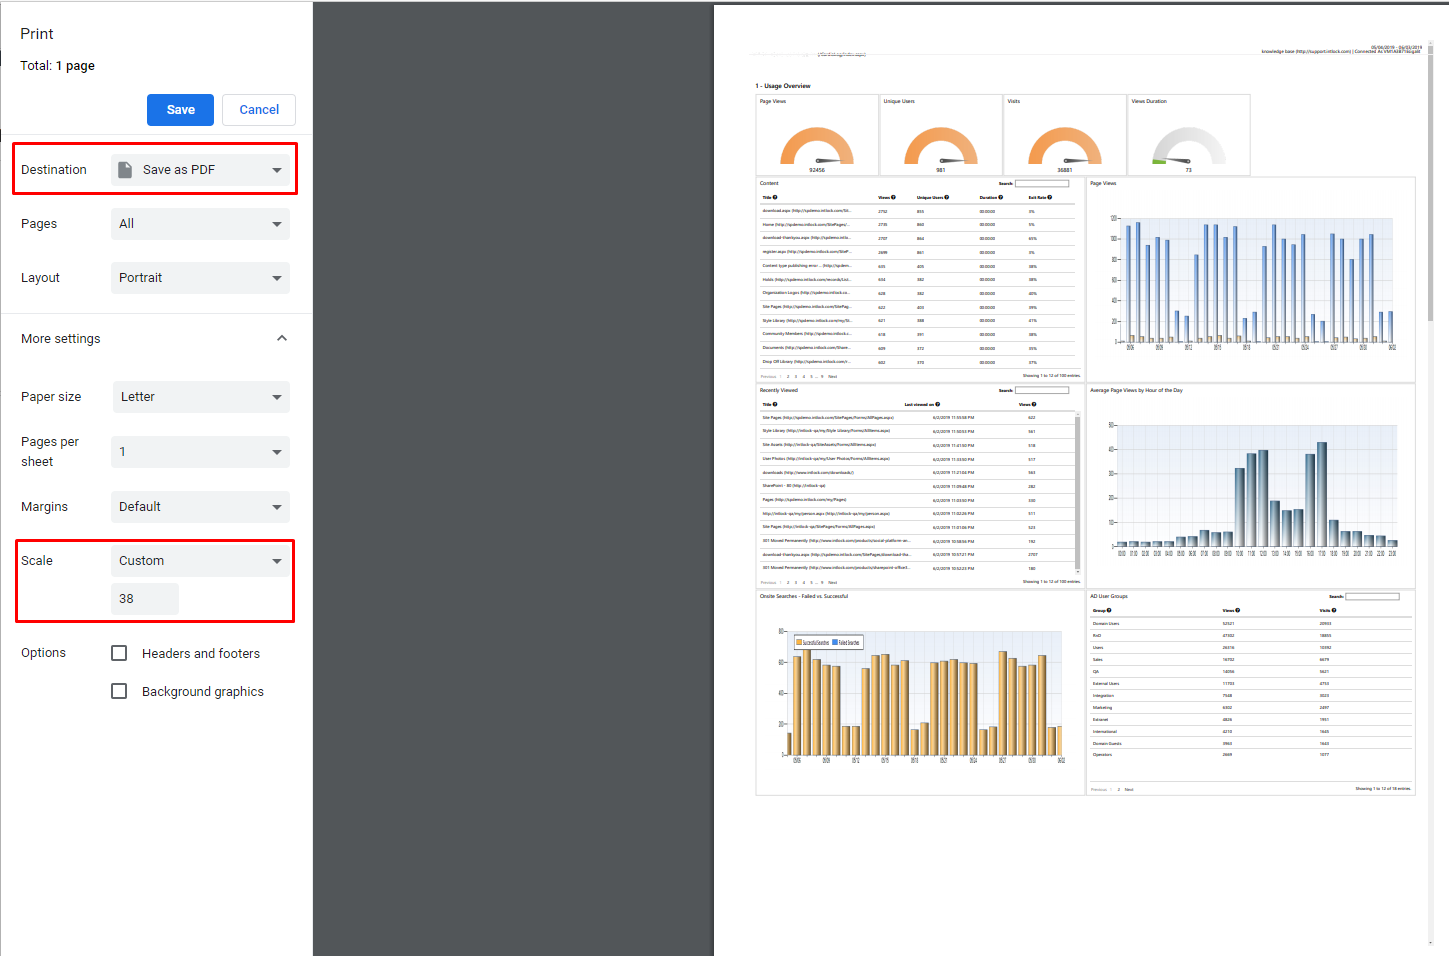
- In the Print Preview window, open the advanced settings and edit the scale options in order to shrink the report layout to fit the page.
- Choose Save as PDF in the printer destination.
Example - Print settings in Chrome
Anchor send email send email
How to Send a Report via Email
| send email | |
| send email |
...
- Confirm the report is in View Mode.
- Click Generate Report from the Actions menu if at least one Static Report does not exist yet. Click Create Web Part from the Share menu.
- The
In the Create Web Part window, choose if you would like to embed the web part in a SharePoint classic page or a SharePoint modern page.
Create Web Part Dialogue When selecting Create web part for SharePoint classic pages and clicking OK, the report will be downloaded as a DWP file to your browser's default downloads location.
You can
nowthen add the dynamic Dashboard Web Part to your SharePoint classic web site.
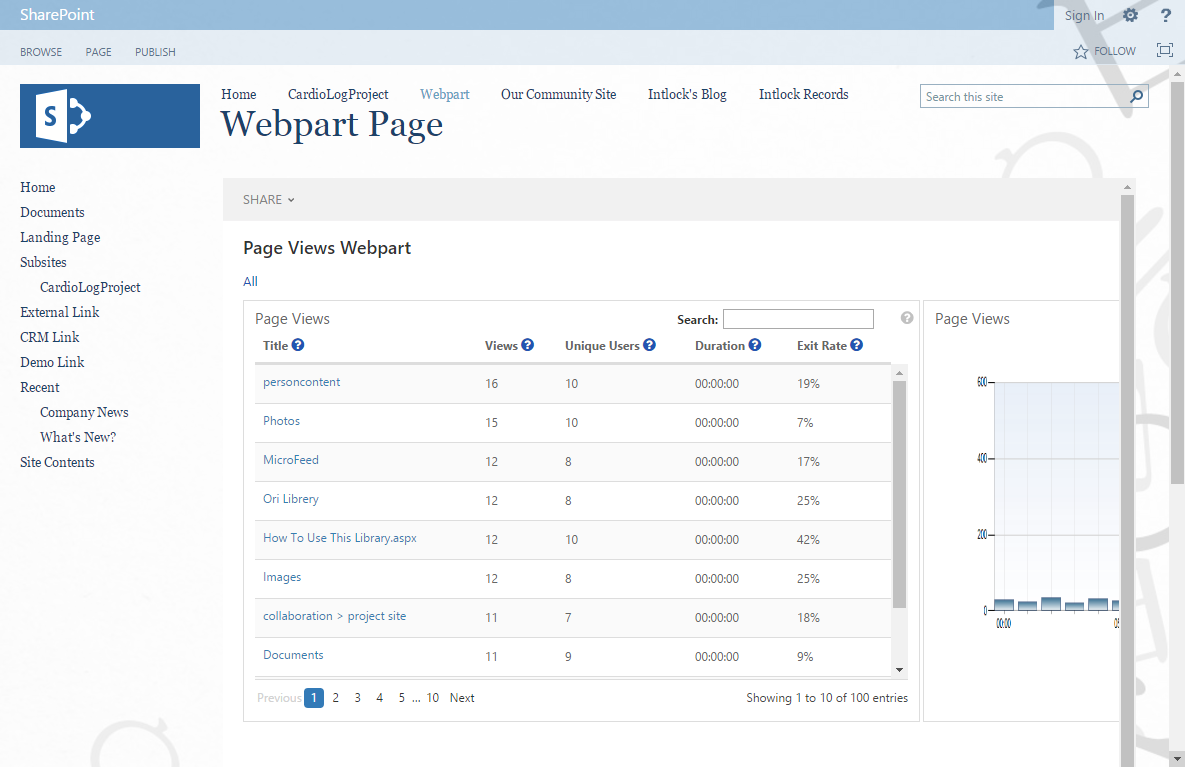
CardioLog report web part displayed on a classic SharePoint site
- When selecting Create web part for SharePoint modern pages and clicking OK, the web part code will be copied to clipboard. You can then embed the web part code in your SharePoint modern pages using the Embed option. Please note that only secure content can be embedded; therefore the CardioLog web application must be configured with SSL (see instructions under How can I configure secure access to the CardioLog website with HTTPS? in this guide for more details).
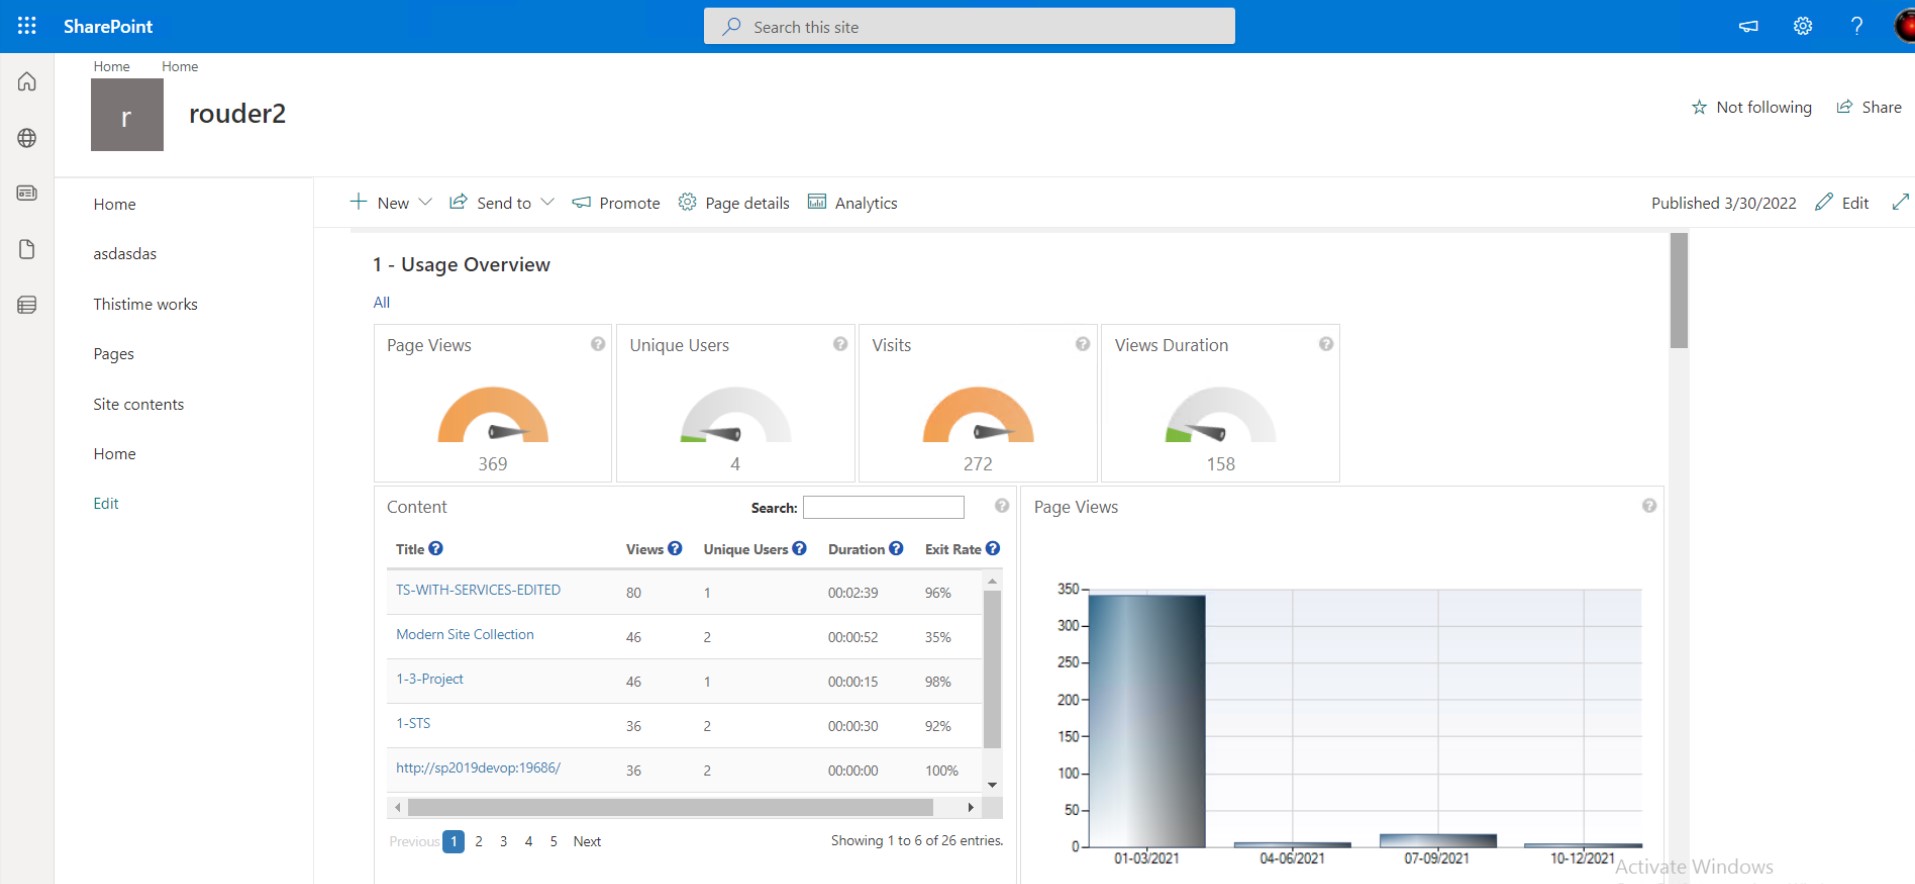
CardioLog report web part displayed on a modern SharePoint site
| Anchor | ||||
|---|---|---|---|---|
|
...


