Page History
- Create surveys based on either single answer, write-in answer, multiple choice or required input fields, and create dynamic responses based on the answers provided.
- Deliver a defined surveys to specific visitor segments.
- Direct your visitors to further action, depending on their survey response.
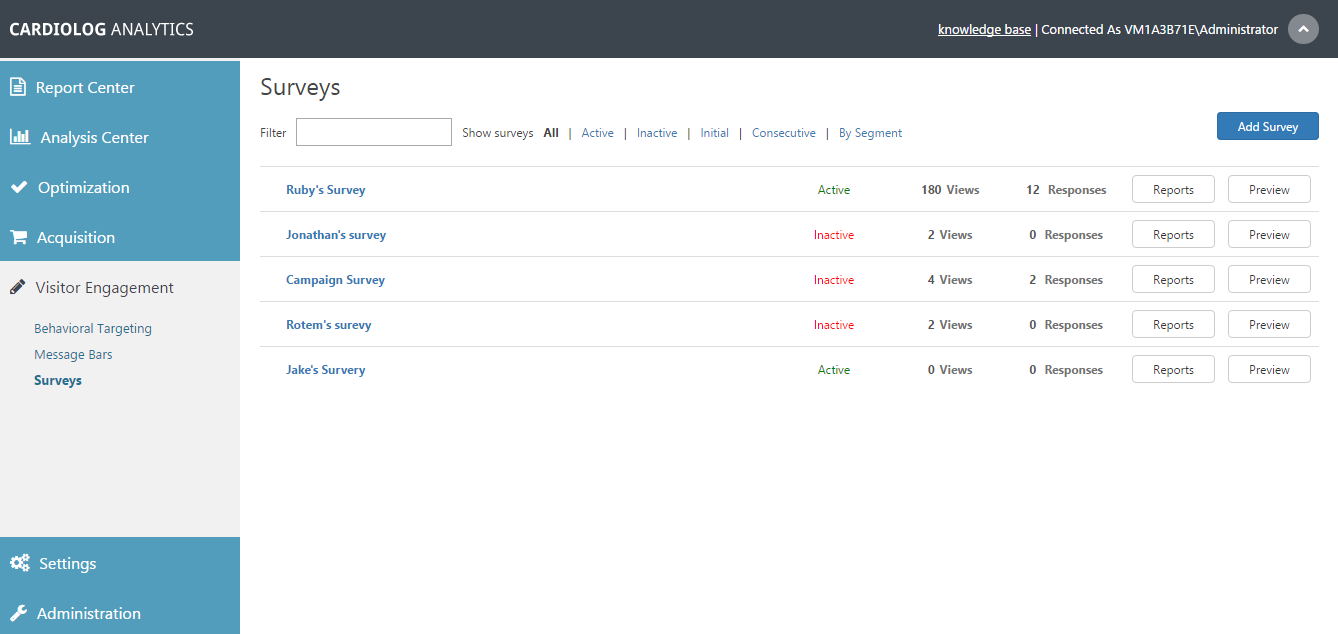
In the main Surveys window under Visitor Engagement, you can view the status of each survey and filter surveys by status (active / inactive), by type (initial / consecutive) and by visitor segment.
Surveys
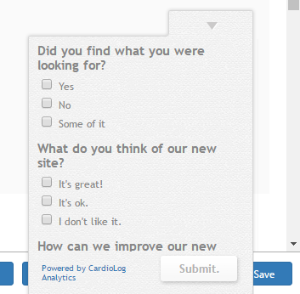
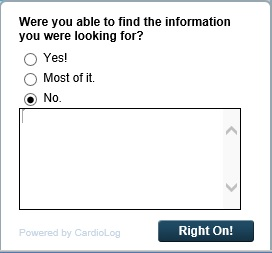
Survey sample
Main Window
Contents
| Anchor | ||||
|---|---|---|---|---|
|
Create a
surveySurvey
- In the Surveys main
- window click Add Survey from the upper right hand corner of the main window, and you will be presented with a list of options.
New
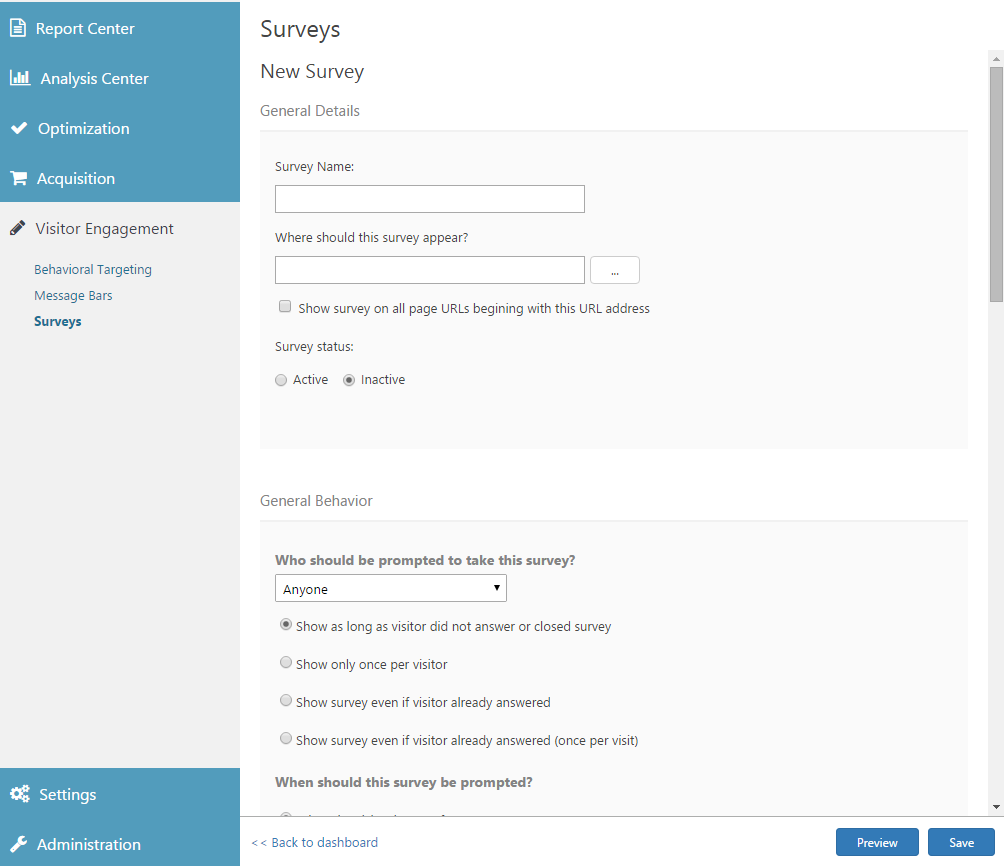
In the General Details dialog, enter the where
- Survey Dialog
- The General Details dialog requires a basic set of information about the survey
- Enter a Survey Name.
- Decide Where should this survey
- appear? and select the webpage or pages where the survey will
- appear using the Object Explorer. You can enter * to display the survey on all pages of your SharePoint environment.
- Selecting Show survey on
- all page
- URLs beginning with this
- URL address will display the survey on all
Survey Status - Choose
- pages defined.
- Use Survey Status to choose whether or not to activate the survey immediately.
Survey General Details dialog
- In the General
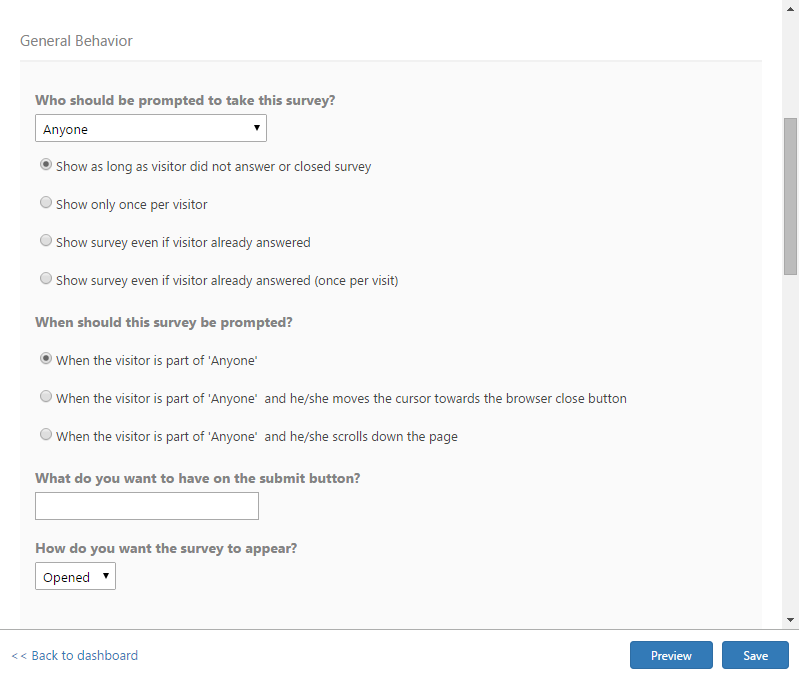
- Behavior dialog choose Who should be prompted to take this
- survey? Click the drop down menu to select the visitor segment
- you would like to view the survey
- . Select "Anyone" to display the survey to all visitors.
Select how often to show the survey:- Show as long as visitor
- has not
- answered or closed survey- The survey will remain open until the visitor completes or closes it.
- Show only once per visitor - The survey will appear on the first relevant page the visitor navigates to on your site, and not again.
- Show survey even if visitor already answered - The survey will persist on all selected pages regardless of the user's actions
- Show survey even if visitor already answered (once per visit) - The survey will be presented on the first relevant page a user visits, every time they visit your site.
Select
When should this survey be
prompted?
- When the visitor is part of the 'selected visitor segment'
- When the visitor is part of the 'selected visitor segment' and he/she moves the cursor towards the browser close button
- When the visitor is part of the 'selected visitor segment' and he/she scrolls down the page
Enter text for What do you want to have on the submit
button? By default the survey submit button text is "
Submit"
How do you want the survey to appear
? Choose either opened or closed for for the initial appearance on a page. The user can always open or close the survey manually.
Survey opened
Survey closed
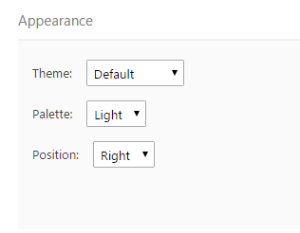
Survey General Behaviour dialog- In the Appearance dialog, select the survey
- Theme, color
Appearance dialog
- Palette and Position as you'd like it to appear on your site. Choose Default-RTL for text that includes language characters that are read from right to left, such as Arabic or Hebrew.
Appearance dialog
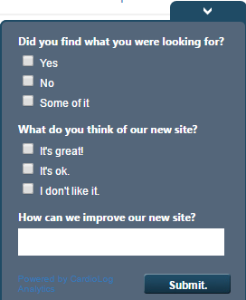
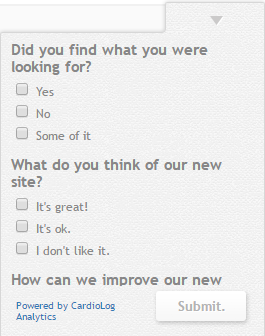
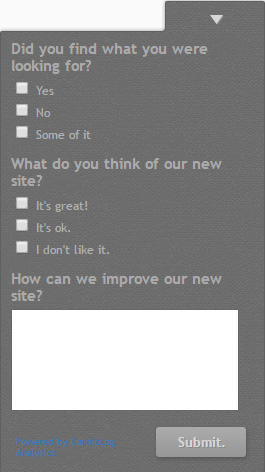
Survey Default Theme with Dark Palette
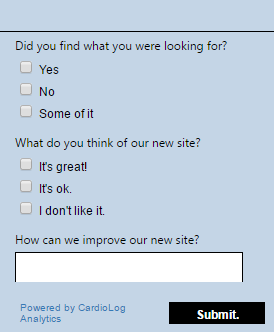
Survey Basic Theme with Blue Palette
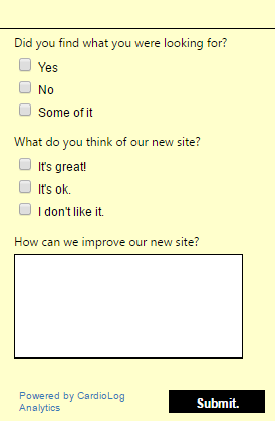
Survey Basic Theme with Yellow Palette
Survey Designed Theme with Light Palette
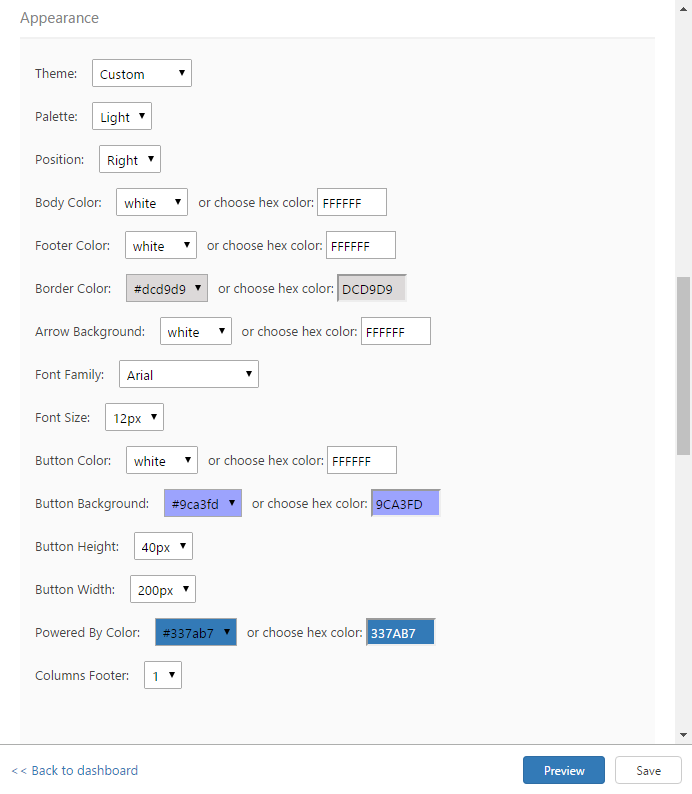
Survey Designed Theme with Dark Palette - From the Theme menu, you may choose Custom and a complete set of options for changing the graphics of your survey will become available. Select the text style and color palette as it will appear on to your users. Select simple colors from the drop down menu, manually enter your choice using the color selector, which appears when you begin to type in a hex color identifier text box. The color selected will appear as a preview in the relevant text box.
Survey Appearance Custom Options
Survey Appearance Custom Options with Custom Color Preview
- Palette and Position as you'd like it to appear on your site. Choose Default-RTL for text that includes language characters that are read from right to left, such as Arabic or Hebrew.
- In the Question dialog,
- begin by entering the Question
- as you'd like it to appear,
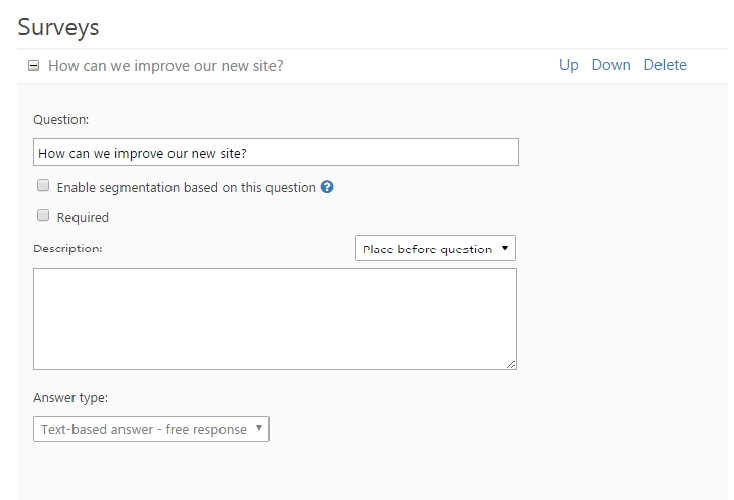
Question Dialog
Select Enable segmentation based on this question if you
- would like to create a new visitor segment for all visitors who enter an answer to the question.
Select Required
- to specify that the question must be answered before submitting the survey. Required questions
- will be marked with an asterisk (*).
Add
Question dialog
Select the Answer type. There are several answer types available
- an optional Description. From the adjacent drop-down menu you can choose Place before question, Place after question, or Hide description to decide where the Description text will be displayed to the user.
Select the Answer type from the following available options:
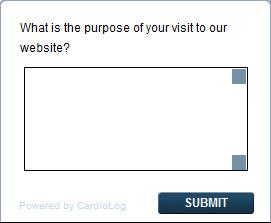
(1) Text-based answer
- - free response
- : The visitor
- enters their own answers within a text box.
Text-based
- Answer
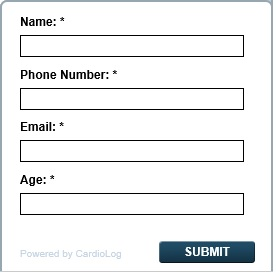
(2) Write-in answer
- : Defined as either short text
- , Phone
- , or Number
- . The visitor will
- be presented with a single-line text box.
Write-in
- Answer
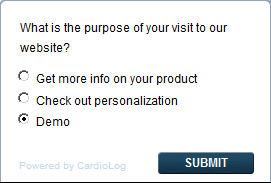
(3) Single answer
- - radio button
- : The visitor may choose a single, predefined answer from a list of two or more answers
Single answer
- that you enter. Answer options will not appear until "Single Answer - radio button" is chosen.
Single Answer
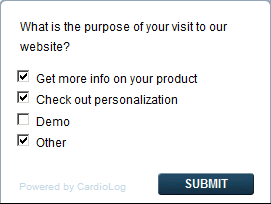
(4) Multiple answer selection
Multiple answer
- - checkboxes: The visitor may select one or more answers from a list of custom answers that you predefine. Answer options will not appear until "Multiple answer - checkboxes" is chosen.
Multiple Answer
Click on Add another answer to add a predefined answer to a single
- or multiple
- answer
- question.
Select
- No explanation
- , short explanation
- , or long explanation to add an explanation text box that will be displayed after the visitor selects the answer.
- Click on Delete to delete an answer.
Answer
- Type Dialog
Short
- Explanation
Long
- Explanation
Note: Once a survey is saved there is no way to modify the answer type.- Click on Add Question In order to add multiple questions.
Drag and drop the
- Click on Add Question In order to add multiple questions.
- Question, or click Up
- or Down in order to
- rearrange the order of the questions.
Click on Delete in order to delete a question.
Multiple Questions - You
- rearrange the order of the questions.
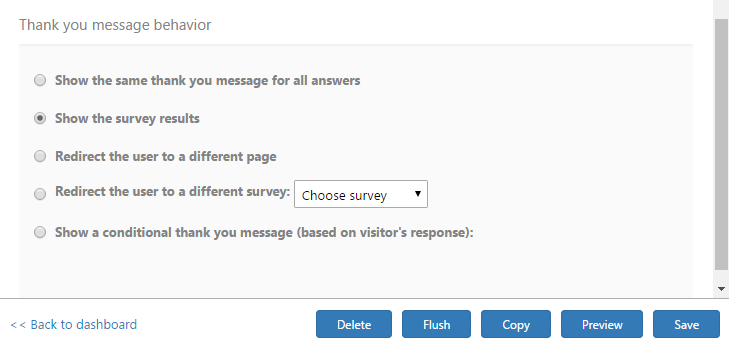
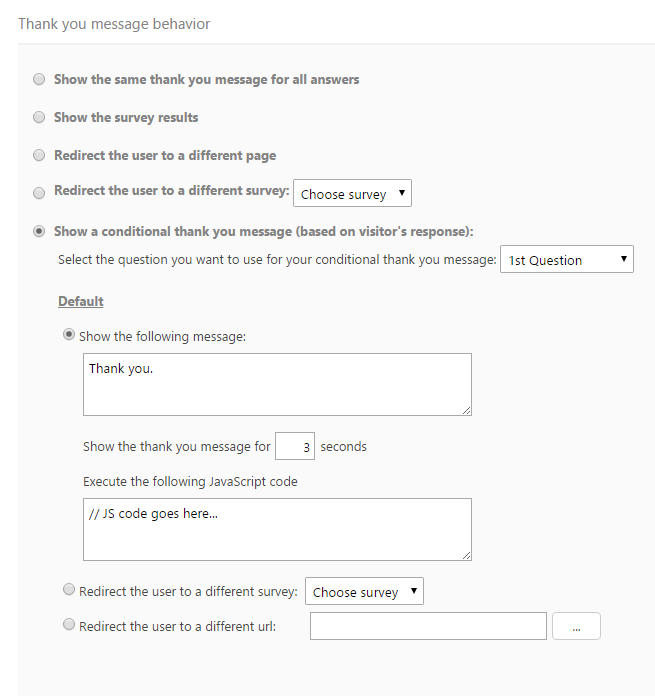
In the Thank you message behaviour dialog, select whether to show the same thank you message for all answers, show a conditional thank you message based on the visitors' response, or take further actions.
Thank you message behaviour dialog
When selecting show
- may include a dynamic thank you message that appears once a survey is submitted that depends on the visitor's response.
Thank You Message Behavior Dialog
Show the same thank you message for all
- may include a dynamic thank you message that appears once a survey is submitted that depends on the visitor's response.
- answers allows you to enter a thank you message text and
- the duration in seconds
- that the
- message will appear to the user.
You can execute JavaScript code after a visitor submits a survey. For
- You may also execute a JavaScript code simultaneously by entering the script in the provided area. For example, you can create a
- dialog for
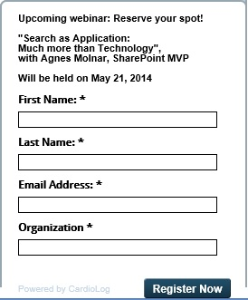
- inviting visitors to register for an event that includes required fields such as the visitor's name and email.
Thank You Message Example: Register to a
- Webinar
- Webinar
By selecting
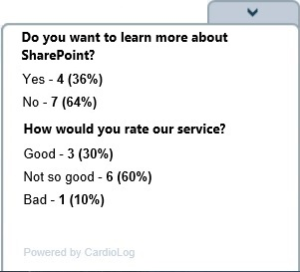
- Show the survey results, the
- answers that
- other users have provided
- will appear after the visitor submits the survey.
Survey
- will appear after the visitor submits the survey.
When selecting redirect
- Results
Select Redirect the user to a different page,
- Results
- to have the visitor redirected to a new webpage after submitting the survey. Enter the page URL in the text box, or select the adjacent browse button (...) to use the Object Explorer. Enable Open in a new window
- to open the page in a new browser window or tab depending on the user's browser preferences.
Thank you
- to open the page in a new browser window or tab depending on the user's browser preferences.
When selecting redirect
- message behavior dialog
Select Redirect the user to a different survey
- message behavior dialog
- to present the visitor with another survey after pressing submit. Choose the second survey you would like to display from the drop-down menu. For more information see "How to create a multi-page survey".
- to present the visitor with another survey after pressing submit. Choose the second survey you would like to display from the drop-down menu. For more information see "How to create a multi-page survey".
When selecting
- Select Show a conditional thank you message (based on visitor's response)
- to display different thank you messages,
- include JavaScript actions, redirect the visitor to a different page
Select the question you want to display conditional thank you messages for and select the behaviour for each answer.
Conditional thank you messages
Finally, you may preview and save
- , or redirect the user to additional survey questions based on their response. Choose a single or multiple answer question that you would like to prompt a conditional response from the drop down menu. Then enter in the appropriate options as described above for each of the appropriate answers.
Conditional Thank You Messages
- , or redirect the user to additional survey questions based on their response. Choose a single or multiple answer question that you would like to prompt a conditional response from the drop down menu. Then enter in the appropriate options as described above for each of the appropriate answers.
- You may Preview or Save the survey you have created.
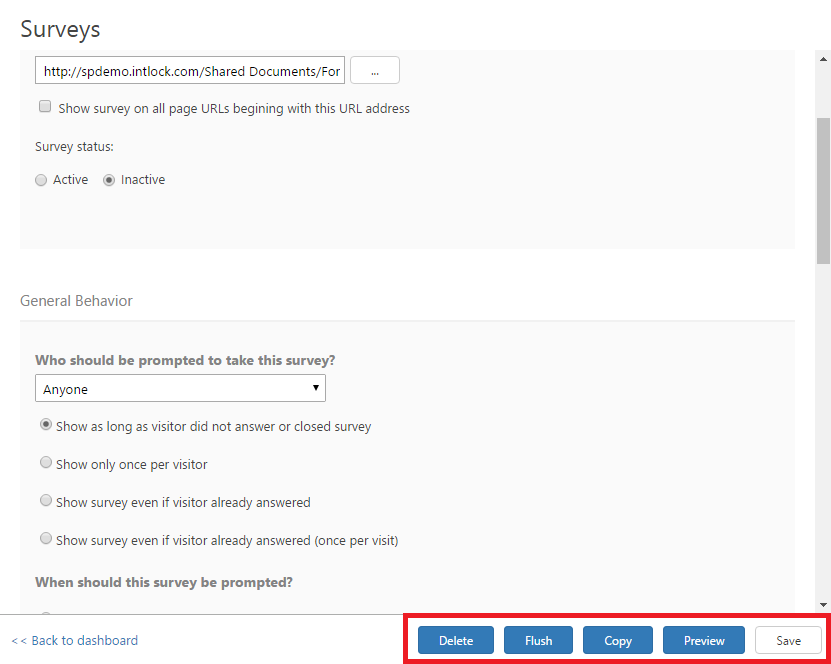
- You may use the Preview feature throughout the design of your survey without affecting any changes. It is also available in the main Surveys UI
- once the survey has been created.
| Anchor | ||||
|---|---|---|---|---|
|
Add Personal User Details to a
surveySurvey
You can
addinclude personal details about the current
visitor tovisitor within the survey
questionquestions and
descriptiondescriptions automatically
,by
placingusing dynamic user category labels
for user categories. A user database will need to be configured previously. In order to import
userinformation from user categories
informationinto the tool see
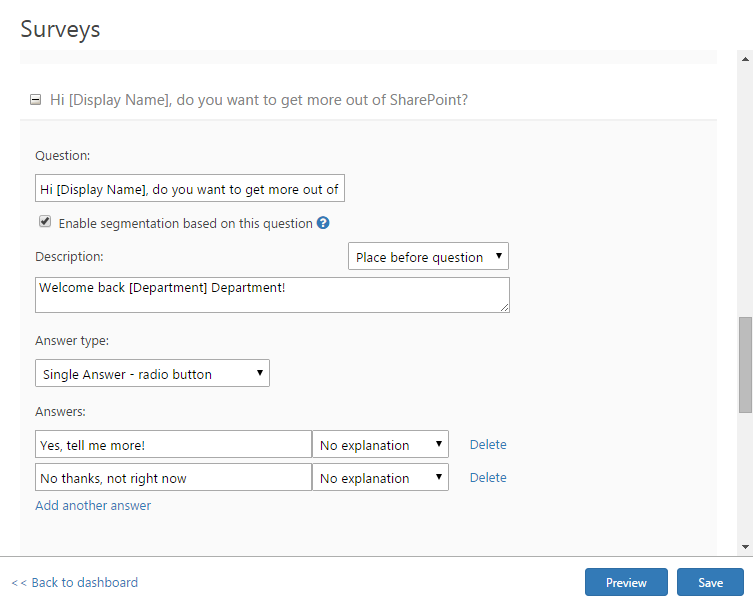
"How to configure visitor segmentation for authenticated users"- In the Survey question or description dialog,
- include a dynamic label with
- a user category name
- in brackets such as [Department] to directly address your users. To find out which user categories are available, use visitor segments to find all known user categories
- by creating a new
- visitor segment and selecting the advanced segment details dialog, under user information.
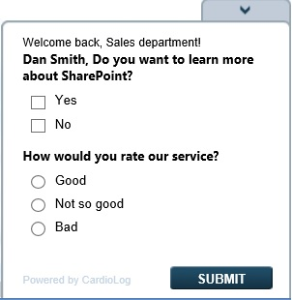
New Question Dialog with Dynamic User Categories- When the survey appears on the website, the label will contain the current visitor details.
Personalized
- Survey
| Anchor | ||||
|---|---|---|---|---|
|
Add Images to a
surveySurvey
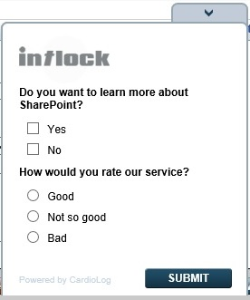
You can add images, such as your company logo, to the survey question description and thank you message text boxes.
ForFor example,
addthe following HTML image tag
to the survey question description or thank you message, towould display the Intlock company logo:
<img src="http://www.intlock.com/intlocksite/images/intlockLogo.png" width="100" />
Add logo to survey question descriptionAdd logo to survey thank you message
Survey with Intlock Logo Image
Add Logo Image to Survey Question Description
Add Logo Image to Survey Thank You Message
| Anchor | ||||
|---|---|---|---|---|
|
Create a
multiMulti-
page surveyPage Survey
You can create a multi-page survey by creating a continual survey that will appear right after a visitor submits a survey.
- In the Survey General Behaviour dialog, under
- Who should be prompted to take this survey?, select No one (this is a continual survey) from the drop-down menu.
- In the Thank you message behaviour dialog of the
- leading survey, click redirect the user to a different survey and select the
- following survey from the drop-down menu.
| Anchor | ||||
|---|---|---|---|---|
|
to Display a
surveySurvey on the SharePoint
search results page when no results are foundSearch Results Page When No Results Are Found
You can create a survey that will appear on a page only when specific conditions apply.
In this example we will show you howFollow these steps to display a survey to visitors immediately after they perform a search that returned no results.
- In the main Surveys user interface, create a continual survey that will appear on the SharePoint search results page when
- zero results are found.
- In the Survey General Behaviour dialog, under who should be prompted to take this survey, select No one (this is a continual survey).
- Create a new segment (for more information see "How to create a segment") with the following parameters:
Segment Type - Basic segment
Segment Scope - Page
URL - contains "osssearchresults.aspx" (the SharePoint search results page) - Add a Script type pixel
- to the segment and enter the following script path
- : /_layouts/CardioLogAgent/searchresults.js
- Contact your system administrator in order to edit the survey ID in the searchresults.js script (var survey_id_to_show).
When using the CardioLog tracking agent feature,
- the searchresults.js script is located under the SharePoint web application _layouts folder on all Web Front Ends (WFEs).
The survey ID can be retrieved from
- the tab_voc_surveys table in the CardioLog database.
Contact Intlock if you need any assistance.
Note: The code in this example is compatible with SharePoint 2013 default search.
When a
visitor will visituser visits the search results page,
itthey will be added to the segment and the script
will be executed (attached to the pixel will be
fired)executed. The code will display the survey only when the search returns
nozero results.
| Anchor | ||||
|---|---|---|---|---|
|
Edit a
surveySurvey
In the main Surveys user interface,
clicksimply click on the name of the survey you wish to edit.
Edit SurveyAn open Survey in Edit Mode, with file options highlighted
| Anchor | ||||
|---|---|---|---|---|
|
Delete a
surveySurvey
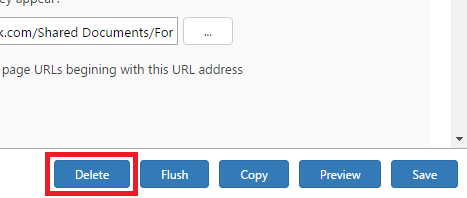
- In the main Surveys user interface, click on the survey you wish to delete.
- Click on Delete in
- the bottom right hand corner of the main window to delete the survey.
- Click Delete in the pop-up dialogue to confirm your choice.
Note: All related survey reports will be deleted as well.
Survey File Options - Delete Survey
Delete Survey Confirmation Dialogue
| Anchor | ||||
|---|---|---|---|---|
|
Copy a
surveySurvey
- In the main Surveys user interface, click on the survey you wish to copy.
- Click on Copy in
- the bottom right hand corner of the main window to copy the survey.
Note:
theThe copied survey title will be "Copy of ..." and the survey status will be Inactive until you edit it.
Survey File Options - Copy Survey
| Anchor | ||||
|---|---|---|---|---|
|
View Survey Reports
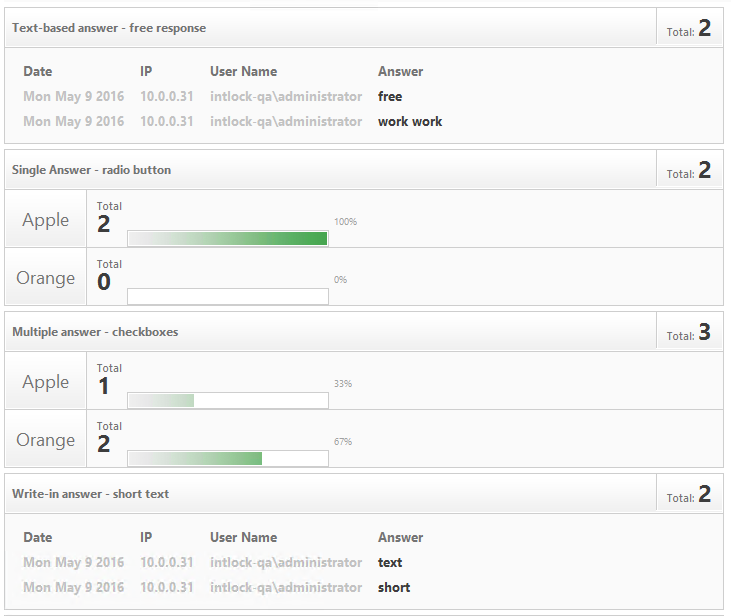
Each survey has a Reports section which holds information about the survey's responses.
The
The information displayed in the report
is general details such asare general details including the total number of views, the total number of responses, the total number of unique users who have responded to the survey, and the click through rate (CTR), as well as
the listthe list of
questionsquestions and responses.
Text-based
Open text responses and explanations display the date of the response, the response itself and the visitor who responded (IP and user name).
The
The results can be displayed for all pages from which visitors responded to the survey or for specific pages.
- In the Surveys main
- window, click Reports to the right of the title of the survey you wish to view
- .
- By default the survey results are displayed for all pages from which visitors responded to it. In order to view survey results for a specific page, select
- a webpage from the
- drop down menu under List of questions.
Survey
- Report General Details
Survey Report List of Questions
| Anchor | ||
|---|---|---|
|
|
|
Export Survey Reports to a
webpartWebpart
In order to view survey results through a
web partSharePoint webpart do the following:
- Create a Page Viewer webpart in SharePoint. The page URL will be the survey report page.
- In order to retrieve the survey report page URL, click on the desired survey "Reports" button, right click anywhere on the report page, select "Properties" and copy the URL address.
| Anchor | ||||
|---|---|---|---|---|
|
CardioLog allows you to automatically export PDF and CSV files directly from the Survey Report window. Simply select SHARE from the upper left hand corner and choose the file type you would like to export. The file will automatically be downloaded to your browser's default download folder.
| Anchor | ||||
|---|---|---|---|---|
|
Erase Survey Reports
In order to erase the survey reports
(and not the survey itself) do the following:In the main Surveys user interface, click, without erasing the survey questions or preferences, simply:
- Click on the survey you wish to erase the reports for In the Surveys main window.
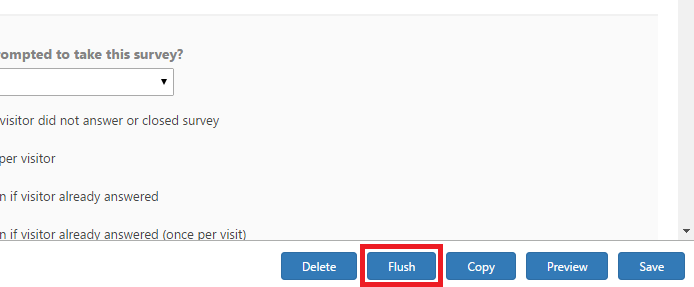
- Click on Flush in
- the bottom right hand corner to erase the survey reports.
Note: The survey itself will not be deleted.
Erase survey report
