Page History
...
- In your SharePoint Online site Solution Gallery browse to: https://intlock.sharepoint.com]/_catalogs/solutions/forms/allitems.aspx Edit the base URL to match your site.
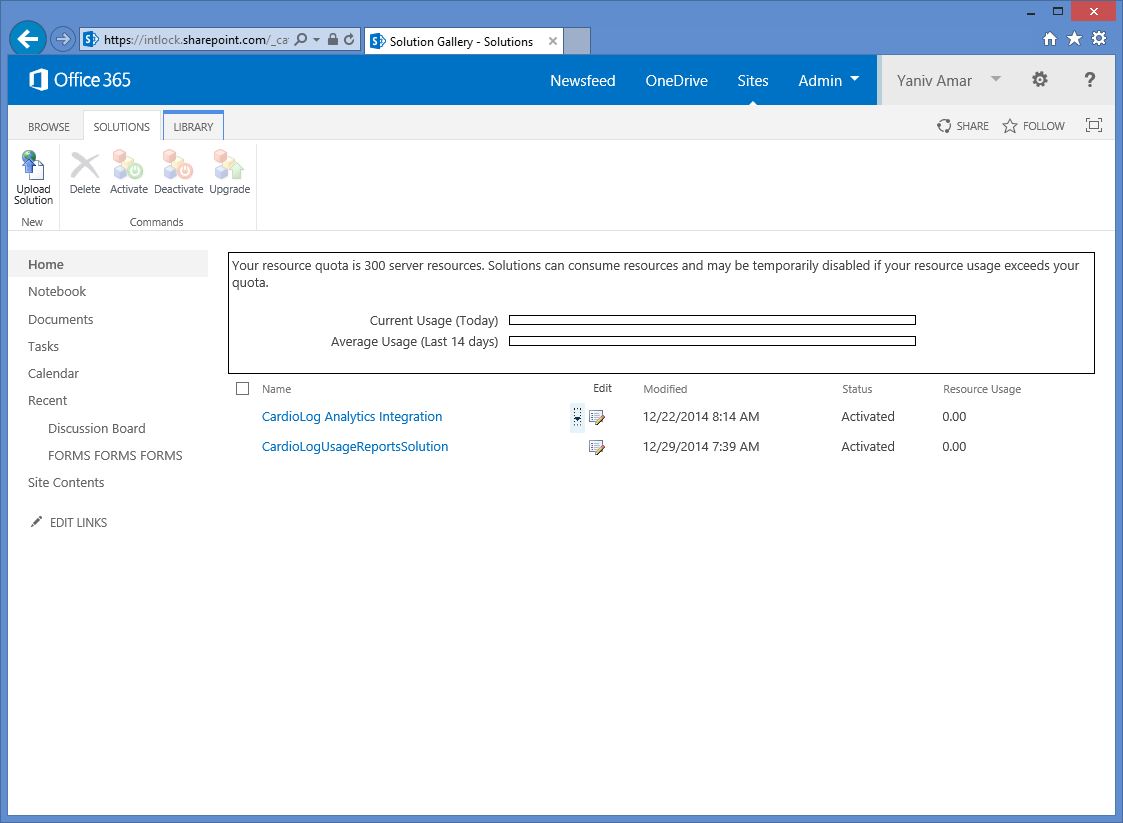
'SharePoint Online' Site Solution Gallery
- Select Upload Solution > Choose File > and select [CardioLog Installation Folder]\Setup Files\wsp\CardioLog-Usage-Reports-SharePoint-Feature-Global-SiteCollectionActivation\CardioLogUsageReportsSolution.wsp and then click Activate.
- Navigate to CardioLog Analytics Integration solution configuration page in your browser: [https://intlock.sharepoint.com]/CardioLogAnalytics/Configuration.2.0.8.0.aspx Edit the base URL to match your site.
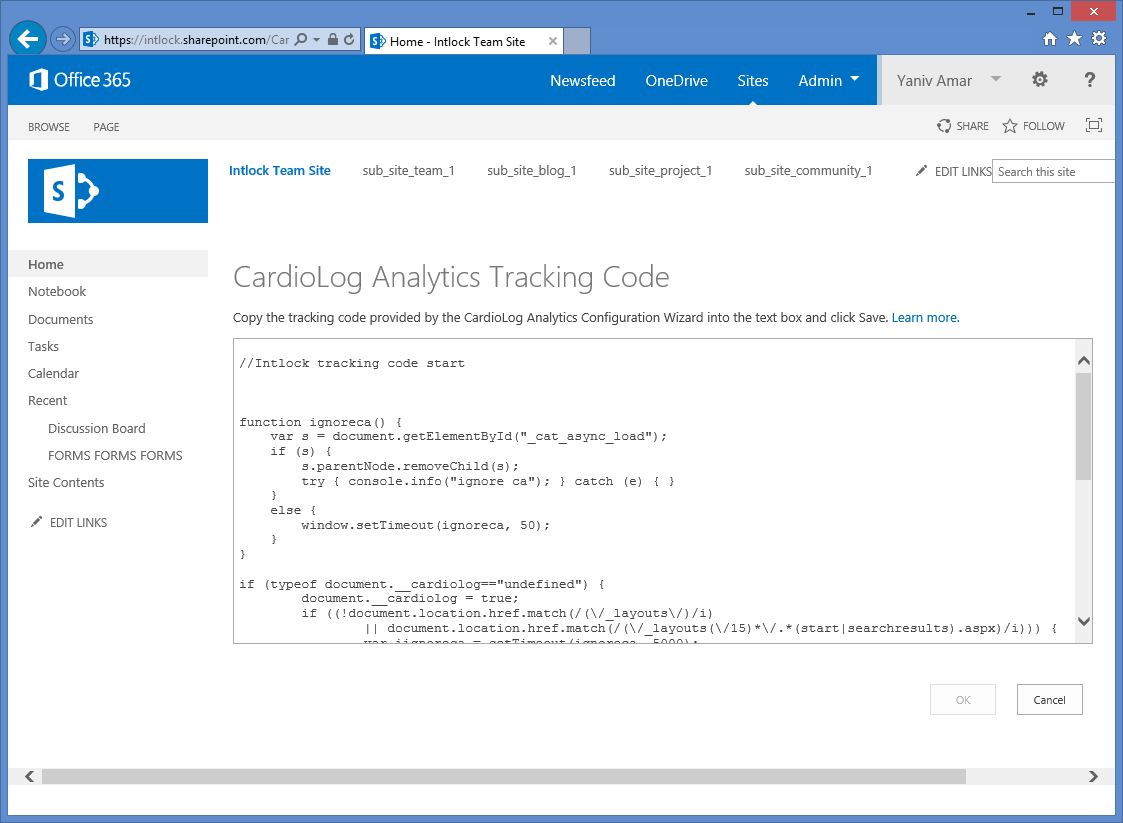
CardioLog Analytics Integration Solution Configuration Page
Edit the tracking code and add the following value to the configuration settings and click OK. Edit the CardioLog server public DNS name used in your system, the URL should be accessible over the internet.
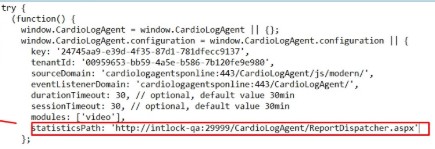
Info icon false statisticsPath: 'https://<cardiologserverdnsname>/CardioLogAgent/ReportDispatcher.aspx'
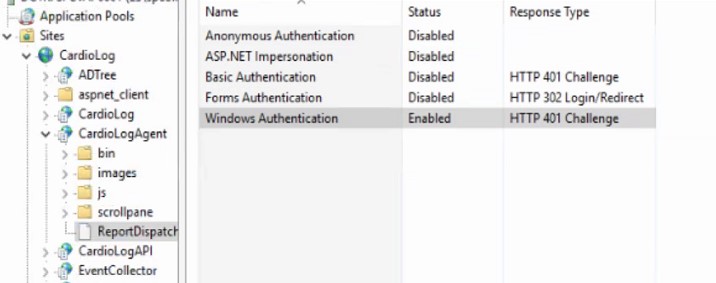
- Go to the CardioLog application server, open IIS, expand the CardioLog website and CardioLogAgent web application, switch to Content View, click the ReportDispatcher.aspx page and select Switch to Features View, choose Authentication, enable Windows Authentication and disable Anonymous Authentication.