Page History
...
- How to create a message bar
- How to edit a message bar
- How to delete a message bar
- How to copy a message bar
- How to view message bar reports
- How to erase message bar reports
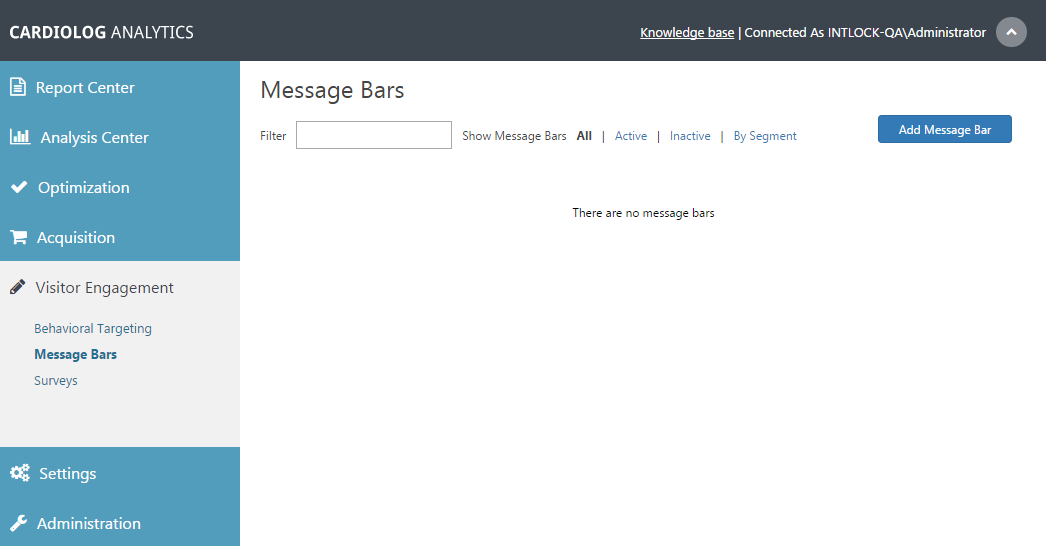
Message Bars Main Window
| Anchor | ||||
|---|---|---|---|---|
|
- In the main Message Bars user interfacemain window, click Add Message Bar in the upper right hand corner.
New message bar dialog - In the General Details dialog, The General Details window will open and you can now enter the Message Bar Name.
Select where
Determine Where should this message bar appear - select ? by selecting the website item in which the message bar will be displayed using the Object Explorer or by entering the URL manually. You can also enter * to display the message bar on all pages of your SharePoint environment.
Enabling Show message bar on any sub-page in this section - Show will show the message bar on all page URLs beginning with this URL address
Choose Message bar status - Choose whether or not to to activate the message bar immediately or later.
Select who
Choose Who should see this message bar - ? from the drop-down menu to select the visitor segment for which the you would like to viewthe message bar will be displayed. You can select "Anyone" to display the message bar to all visitors. For more information about visitor segments see "How to create Visitor Segments".
Select how often to show the survey:- Show as long as visitor has not clicked or closed message bar
- Show message bar even if visitor already clicked or closed it
- Show message bar even if visitor already clicked or closed it (once per visit)
Select when should this message bar be prompted -
- When the visitor is part of the selected visitor segment
- When the visitor is part of the selected visitor segment and he/she moves the cursor towards the browser close button
- When the visitor is part of the selected visitor segment and he/she scrolls down the page
Message Bar General Details dialogWindow - In the Settings dialog, select the message bar position on the SharePoint page.
Push page down - select whether to display the message bar over the page or push the page down.
Select when to show the message bar - immediately / after x seconds / after 1 minute.
Select when to hide the message bar - never / after x seconds / after 1 minute.
Make message bar closable - Choose whether or not the visitor will be able to close (minimize) the message bar.
Select the tab position - Choose where to position the close (minimize) button.
Settings dialog - In the Appearance dialog, select the message bar text style and color palette on the SharePoint page.
Appearance dialog - In the Content dialog, enter the message that will appear on the message bar (limited to 85 characters).
When selecting a call for action, you can take further actions (such as redirecting the visitor to a different page or a survey) when the visitor clicks on the message bar. If you do not want to take further action, select no call for action.
Select the call for action behaviour and enter the call for action text that will appear as a link on the message bar.
When selecting redirect the user to a different page, enter the page URL (or select it from the Object Explorer by clicking on the "..." button) that the visitor will be redirected to after clicking on the message bar. Select Open in a new window in order to open the page in a new browser window.
When selecting show the user to a survey, select the survey that will appear right after a visitor clicks on the message bar. For more information see "How to create a survey".
You can execute JavaScript code after a visitor clicks on the message bar.
Select enable segmentation based on this message bar if you want to create a segment for visitors who clicked on the message bar. For more information about visitor segments see "How to create Visitor Segments".
Content dialog - Finally, you may preview and save the message bar you have created.The preview feature is also available in the main Message Bars UI after creating the message bar.
...

